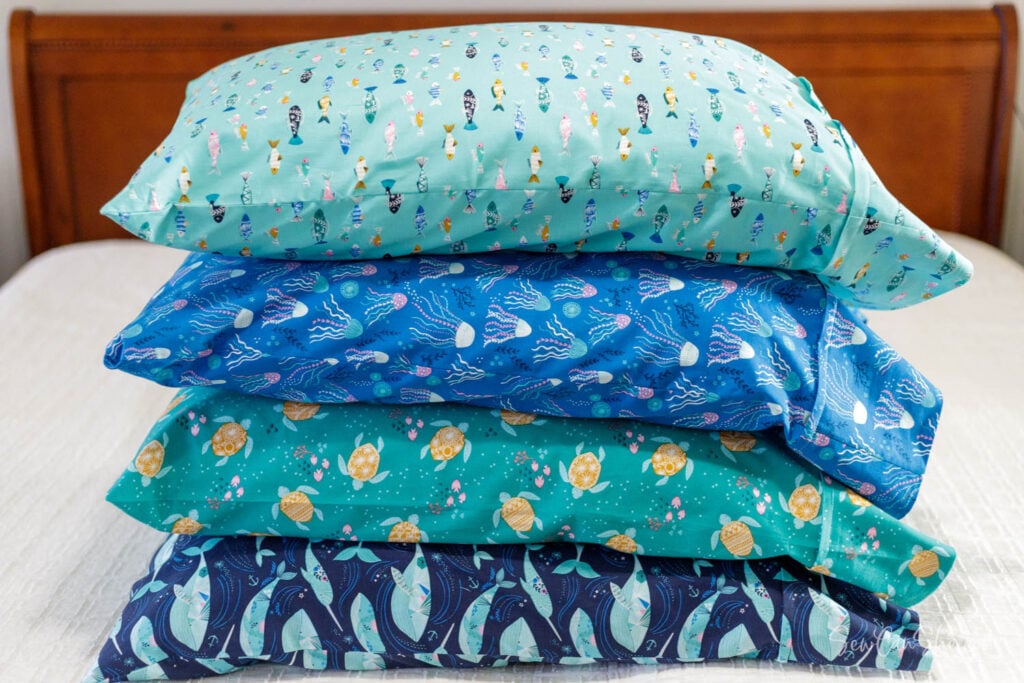
How to Sew a Pillowcase: One Yard Magic Pattern with No Waste!


Learn how to sew a pillowcase with exactly one yard of fabric and no waste! This super easy pillowcase tutorial is perfect for beginners or for charity sewing because it is the fastest pillowcase pattern you will ever see.
If you are just getting started sewing, I have lots more beginning sewing projects, including:
- Super easy and useful Bowl Cozies
- A fast and easy fabric basket that’s reversible too
- Grab a yard of fabric and make a simple messenger bag
See 21+ beginner friendly sewing patterns here.
This blog post has been converted to an optional PDF that’s optimized for printing. Find it here. The free One Yard Magic Pillowcase Tutorial Pattern is included in the blog post below and is totally free to read, print, and sew! Just hit CTRL +P on your computer to print. The Optimized for Printing PDF pattern for $2 is totally optional. Did you know you can get ALL the Optimized for Printing PDF files organized in a library for you to access anytime you want? Check it out.

This tutorial for homemade pillowcases is the perfect beginner sewing project or for sewing a lot of pillowcases at once because:
- You will only need 1 yard of fabric (exactly!)
- There is absolutely NO fabric waste
- Hardly any cutting
- No confusing rolling or folding (like the burrito method)
- All of the sewing is very forgiving if you mess up
And everyone needs a case on their pillow at night! This project makes a great gift for holidays, housewarmings, birthdays, and more: for kids or adults. If you are looking for a fancier pillowcase, don’t miss my DIY Ruffled Pillowcase Pattern (it’s chic and beautiful).

Pillow Case Dimensions
This free tutorial makes 20” x 30” standard pillowcases. It will fit standard size pillows and some queen size pillows too.
This method for sewing a pillowcase is especially fast since the ‘cuff fabric’ is actually a faux cuff that only looks sewn on. That means there is only one main fabric, but if you have coordinating yards of fabric, you can use them to make a set of adorable diy pillowcases.

Tips for choosing fabric for your pillowcases
I used regular quilting cotton fabric for durability and softness. Knit fabric, flannel, sateen, or satin would be great too. If you bought too much fabric for a quilt, this is the perfect use for it: make a matching pillowcase.
So let’s get started sewing standard size pillowcases!
You will need:
- 1 yard of fabric
- matching thread for the top and the bobbin
- cutting tools: scissors, rotary cutter, acrylic ruler, and cutting mat
- a sewing machine
- sewing pins
- an ironing board and iron
You may also find helpful:
- a chopstick or point turner

Cutting:
Fold your yard of fabric the way it came off the bolt. Cut off the selvages. Trim the ends if they are uneven or fraying.
Can you believe that’s all the cutting? If you are in a sewing pinch, you could skip the cutting all together. In that case use an extra wide seam allowance so that the selvages don’t show.
If you have a serger, it will cut off the selvages for you. Just skip the cutting and let the serger knife cut off the selvages in the first sewing step below.
Step 1: Fold the Fabric Right Sides Together and Sew

1. Fold the fabric wrong sides together to make a rectangle that is approximately 21” x 36”.
Pin along the top long edge and one of the side edges.

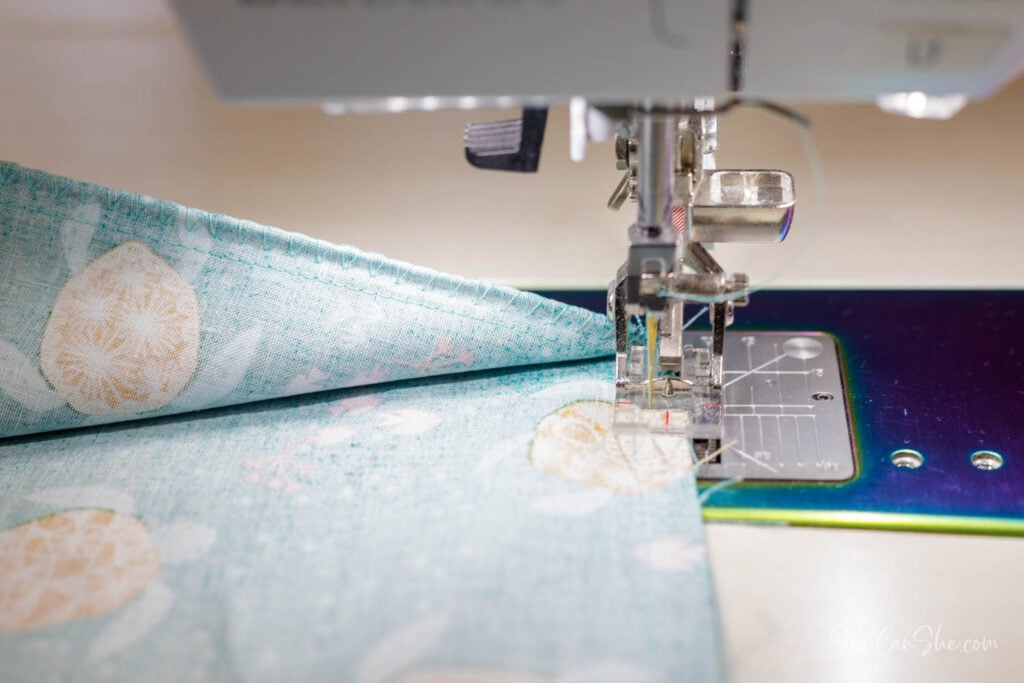
2. Start sewing at the long edge near the opening of the pillowcase. Sew with a 3/8 inch seam allowance. You can most likely use the edge of your presser foot as a guide.

When you reach the corner, stop with your needle down. Lift the foot so you can pivot the fabric, and then continue sewing the short end of the pillowcase.

3. Trim away the extra fabric at the corner to reduce bulk,

If desired, you can finish the raw edges of the seam with a zig zag stitch or a serger. French seams are also an option, but I wanted to show you how to sew a pillowcase in the fastest and easiest way possible! No one is really going to care about the inside anyway.
Step 2: Turn and Press the Simple Pillowcase Cuff

1. Don’t turn the pillowcase right side out yet. Put the pillowcase over the end of your ironing board.
Fold the top edge down by 5” and press all the way around

2. Then fold the cuff to the inside by 5” one more time.

3. To make this ‘magic’ cuff with an accent detail, we only need to sew 3/8” from the top edge with the pillowcase still inside out. If we were hemming the normal way, we’d sew at the bottom edge of the 5” hem – but don’t be tempted to do that here.
Sew all the way around the top folded edge, again using the edge of your presser foot as a guide.
Step 3: Turn Right Side Out and Press

1. Turn the pillowcase right side out. Use a chopstick or turning tool to push the corners out.
2. Press it flat. Press the faux trim piece toward the opening of the case or away from it, which ever way that you like better.

And you are done. Now grab all the extra 1 yard pieces of fabric in your stash and sew them into easy pillowcases!
As always, I love to see what you make with my tutorials. Please post a picture of your pillowcases sewn with my easy pillowcase tutorial to Instagram and tag me @sewcanshe or #sewcanshe so I can see!
Are you looking for more pillow related sewing projects? Check out:
- How to sew a Bench Pillow with easy DIY piping
- Free DIY Puppy Pillow Pet Pattern
- Sewing festive Plump Tufted Pillows for the holidays
Happy sewing,

The post How to Sew a Pillowcase: One Yard Magic Pattern with No Waste! appeared first on SewCanShe Free Sewing Patterns for Beginners.